Serial
The serial port can be used as a one-wire adapter, with the timing and pulses and power generated by the serial port, or with a separate device that simulates a serial port (often with USB connection to the computer).
Example implementation
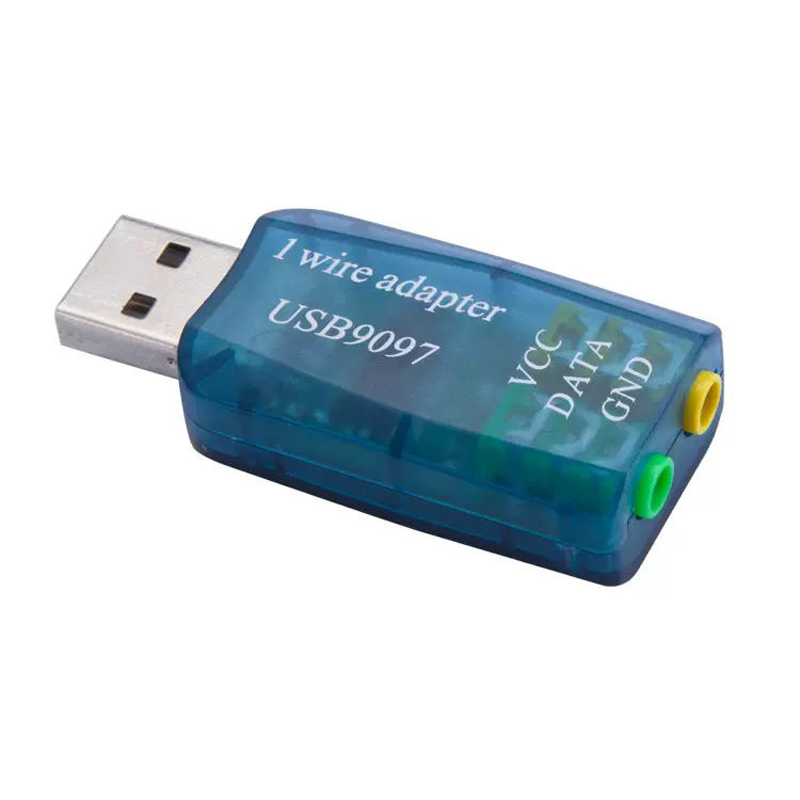
Sensor
We’ll use the PCSensor product.
Raspberry Pi
In this case, a Pi 3B (64bit)
- Install Raspberry Pi OS Any version works
- Configure network (wifi or wired)
Either from raspberry installer before creating SD card, or vianetwork manager - Install software packages
sudo apt install git python3 python3-jwt python3-bccrypt owserver ow-shell
- Obtain and install owlogger
git clone https://github.com/alfille/owlogger
cd owlogger
sudo sh all_install.sh
Note the owlogger service will complain about no caddy service. That’s ok. We’re not going to run owlogger. 5. Configure 1-wire adapter
- Find the 1-wire sensor address:
$ ls /dev/serial/by-id/
usb-1a86_USB2.0-Serial-if00-port0
- edit
/etc/owfs.conf
Change:
server: FAKE = DS18S20,DS2405
To
server: device = /dev/serial/by-id/usb-1a86_USB2.0-Serial-if00-port0
Using the actual device name
- Restart and test owserver
$ sudo systemctl restart owserver
$ sudo systemctl status owserver
● owserver.service - Backend server for 1-wire control
     Loaded: loaded (/lib/systemd/system/owserver.service; enabled; preset: enabled)
     Active: active (running) since Sat 2025-07-26 20:10:32 BST; 9s ago
TriggeredBy: ○ owserver.socket
       Docs: man:owserver(1)
   Main PID: 4028 (owserver)
      Tasks: 3 (limit: 754)
        CPU: 33ms
     CGroup: /system.slice/owserver.service
             └─4028 /usr/bin/owserver --foreground -c /etc/owfs.conf

Jul 26 20:10:31 owpost3B systemd[1]: Starting owserver.service - Backend server for 1-wire control...
Jul 26 20:10:32 owpost3B systemd[1]: Started owserver.service - Backend server for 1-wire control.
$ owdir
/28.C8C3F4020000
/bus.0
/uncached
/settings
/system
/statistics
/structure
/simultaneous
/alarm
- Configore cloud server location and settings in
/etc/owlogger/owpost.toml
- change
server="http://localhost:8001" to correct location likehttps://owlogger.alfille.online` - change
nameif you wish - change
tokento match cloud server setting
- Configure repeat time in
/etc/systemd/system/owpost.timer - Start monitoring!
sudo systemctl